The destination folder where the NDB data and log files will be stored, typically GMSDatabases, is not compressed. NOTE: For more information on the expanders, refer to the Notification Database Configuration topic.
In the SMC tree, select Database Infrastructure > [SQL Server Name].
Click Add and select Create Notification Database.
The Add Notification DB screen displays.
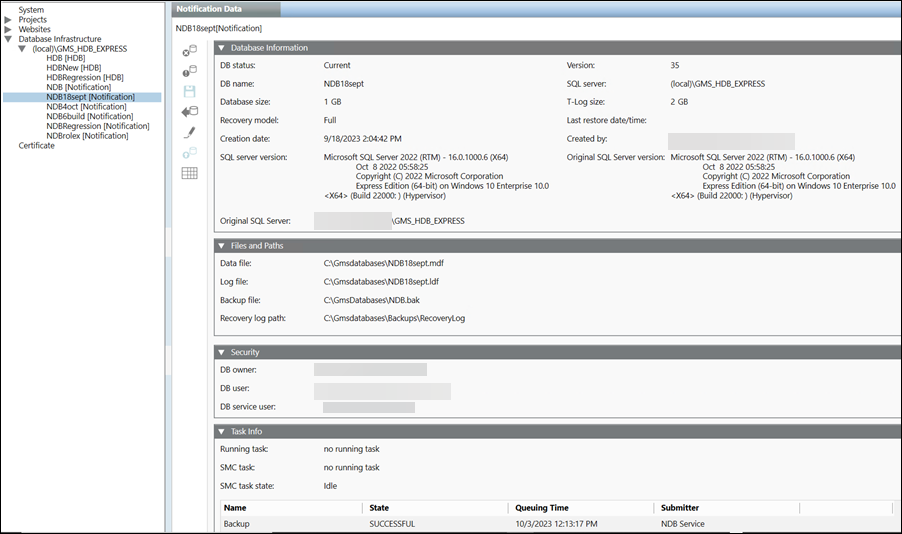
Open the Database Information expander and enter data into the following fields:
DB name: Enter the name of the new Notification database. The database name must be unique on the targeted SQL Server (do not use special characters).
Database size: Set the size of the NDB (maximum 10 GB for SQL Server Express).
Recovery model: Select the type of recovery either Full or Simple. The default value is Full. For more information, see Recovery Models.
SQL server: Displays the SQL Server address on which the new database will be created. Notification supports local as well as remote SQL servers.
T-log size: Represents the transaction log size.
Select the Files and Paths expander and enter the following data:
Data file:C:\Gmsdatabases\NDB.mdf
Log file:C:\Gmsdatabases\NDB.ldf
Backup file:C:\Gmsdatabases\Backups\NDB.bak
Recovery log path:C:\Gmsdatabases\Backups\RecoveryLog NOTE: If you do not use the standard paths in the Data file, Log file, Backup file, and Recovery log path fields and if the SQL Server is on a different computer, you must first create the folders before you click Save.
Select the Security expander and check the displayed user names. a. DB owner: Enter the database owner details. The NDB owner must be different from the NDB user and the NDB service user. b. DB user: Displays the database user details. c. DB service user: Displays the database service user details.
Click Save.
Click Yes.
The NDB is created and displays in the SMC tree.
The NDB starts automatically.
Notification data is logged after linking to the project.
 and select Create Notification Database.
 .
.